Showing posts with label Making our house a home. Show all posts

Monday, 3 February 2014

Making a Lego Pin Board

In the run up to last Christmas I went decorating crazy with four rooms in two months getting a make over. The first and most fun room to be done was Jacob's room. The walls were painted in Crown Originals 1997 Aqua. I love the colour but I made a mistake not buying a tough wipeable paint. I already have to re-coat the wall by the door that is covered in hand prints that don't wipe off.

When we moved in to the house this room contained some big built in wardrobes that are not in great condition. As they are fantastic for storing lots of stuff we decided to keep them rather than replacing them with shop bought wardrobes and gave them a face lift. 

The insides were brightened up with white emulsion and the shelves were reinforced to withstand the weight of the keepsake box and baby clothes that I can't bare to get rid off.

The outside was rubbed down, holes were filled and hinges tightened. Then the doors and frames had a coat of white emulsion before each door got it's final finish. 

Doors Before...

There are four small doors a the top and four main doors below.


The top doors were covered with découpage maps and comic strips.


The main doors each had a different finish. I left a set of doors painted plain so that posters and photo's can be blu tacked up and changed as desired. There is a blackboard door, made using blackboard spray paint and a Lego Pin Board.

Jacob is a massive Lego Fan and I wanted to incorporate a Lego element that would last a few years. I found some circle cork coasters at Ikea and thought they would be perfect to create a Lego pin board.

Using a flat 4 stud lego piece for inspiration I started by measuring the diameter of the cork circles and the length and width of the door. Based on these measurements I worked out where to place the cork circles so they were equally spaced out. I then used a No More Nails adhesive to stick the circles to the door, following the instructions on the tube. 

Once dry I painted the cork circles with a couple of coats of white emulsion to even out the base colour of the door before I added the colourful paint.


When the white was dry I added three coats of the top coat paint, rubbing down the door after the first two coats. I love this yellow and it looks great with the other colours in the room.

I then added a couple of pins and Jacob did the rest :)


Thursday, 14 March 2013

I Have a Confession to Make...

...I am not a natural housewife!

I've been a stay at home mum for seven and a half years and in that time you would have thought that I would have perfected the cleaning and ironing, but no I haven't. I cook, I sew, look after my kids but when it comes to the household chores there are so many things I would rather do instead. Instagram anyone?

Anyway...

When Jacob was a baby I remember reading an editors letter in a magazine that said something along the lines of "there is more to life than cleaning, who cares if there is Wheatabix on the floor, the kids will grow so fast enjoy them now and the cleaning can wait". This stuck with me and I use it as an excuse whenever I feel bad about not having done the ironing.

Most of the time I only have a good tidy up when family and friends are popping by. There are varying levels of cleaning depending on who is coming over. A visit from my Mum usually involves me shouting "quick! hoover up", a number of times she's been left on the doorstep because we've not heard the bell over the vacuum cleaner. There are other friends, one in particular, that I stopped giving the cleaning excuses to. She takes us as she finds us and we do the same to her.

I keep wondering if my natural tidying instinct will kick in when my kids are older and I have time on my hands. I think deep down I know it won't, I'll just find something more interesting to do instead.

I might not like cleaning but I do wish my house was more organised with a home for everything. So that is my Spring Clean mission. To fill my cupboards with labeled organised jars like Martha Stewart (I never thought I'd say this but I love Martha and spend hours searching through her site for holiday decoration inspiration and cake recipes) and to make a home for everything so that the cleaning becomes less of a big deal when I feel like doing it.

I want to record my to-do list so that I can't avoid it or pretend that it doesn't exist. Feel free to ask me about my progress and give me an incentive to get through it! So here it is,

My Spring Cleaning Mission

  • Organise kitchen cupboards
  • Buy and label food storage jars
  • Bathroom and washing bins
  • Kids toys
  • Cleaning cupboard
  • Kids craft stuff

Are you spring cleaning? Do you find the housework a pleasure or a chore?

Saturday, 9 March 2013

Making our House a Home

We are one week in to our bathroom makeover and there sadly isn't much progress to show you. This is because we chose to go into town last weekend and buy me some quad skates (big smile) and attend Craftaganza

This weekend we must get on with it and I am envisaging that after roller skating (I am hooked) on Sunday I will be spending the rest of Mothers Day tiling.

Some progress shots for you...

Uh oh, when the tiles came off so did the plaster. The job suddenly got a bit bigger!


Look at the original lino checkerboard tiles Chris found under the vinyl!


The Wickes trolley!


I've been busy drooling over penny floors on Pinterest. I'm saving up! For what I think is going to be a labour of love!


Monday, 4 March 2013

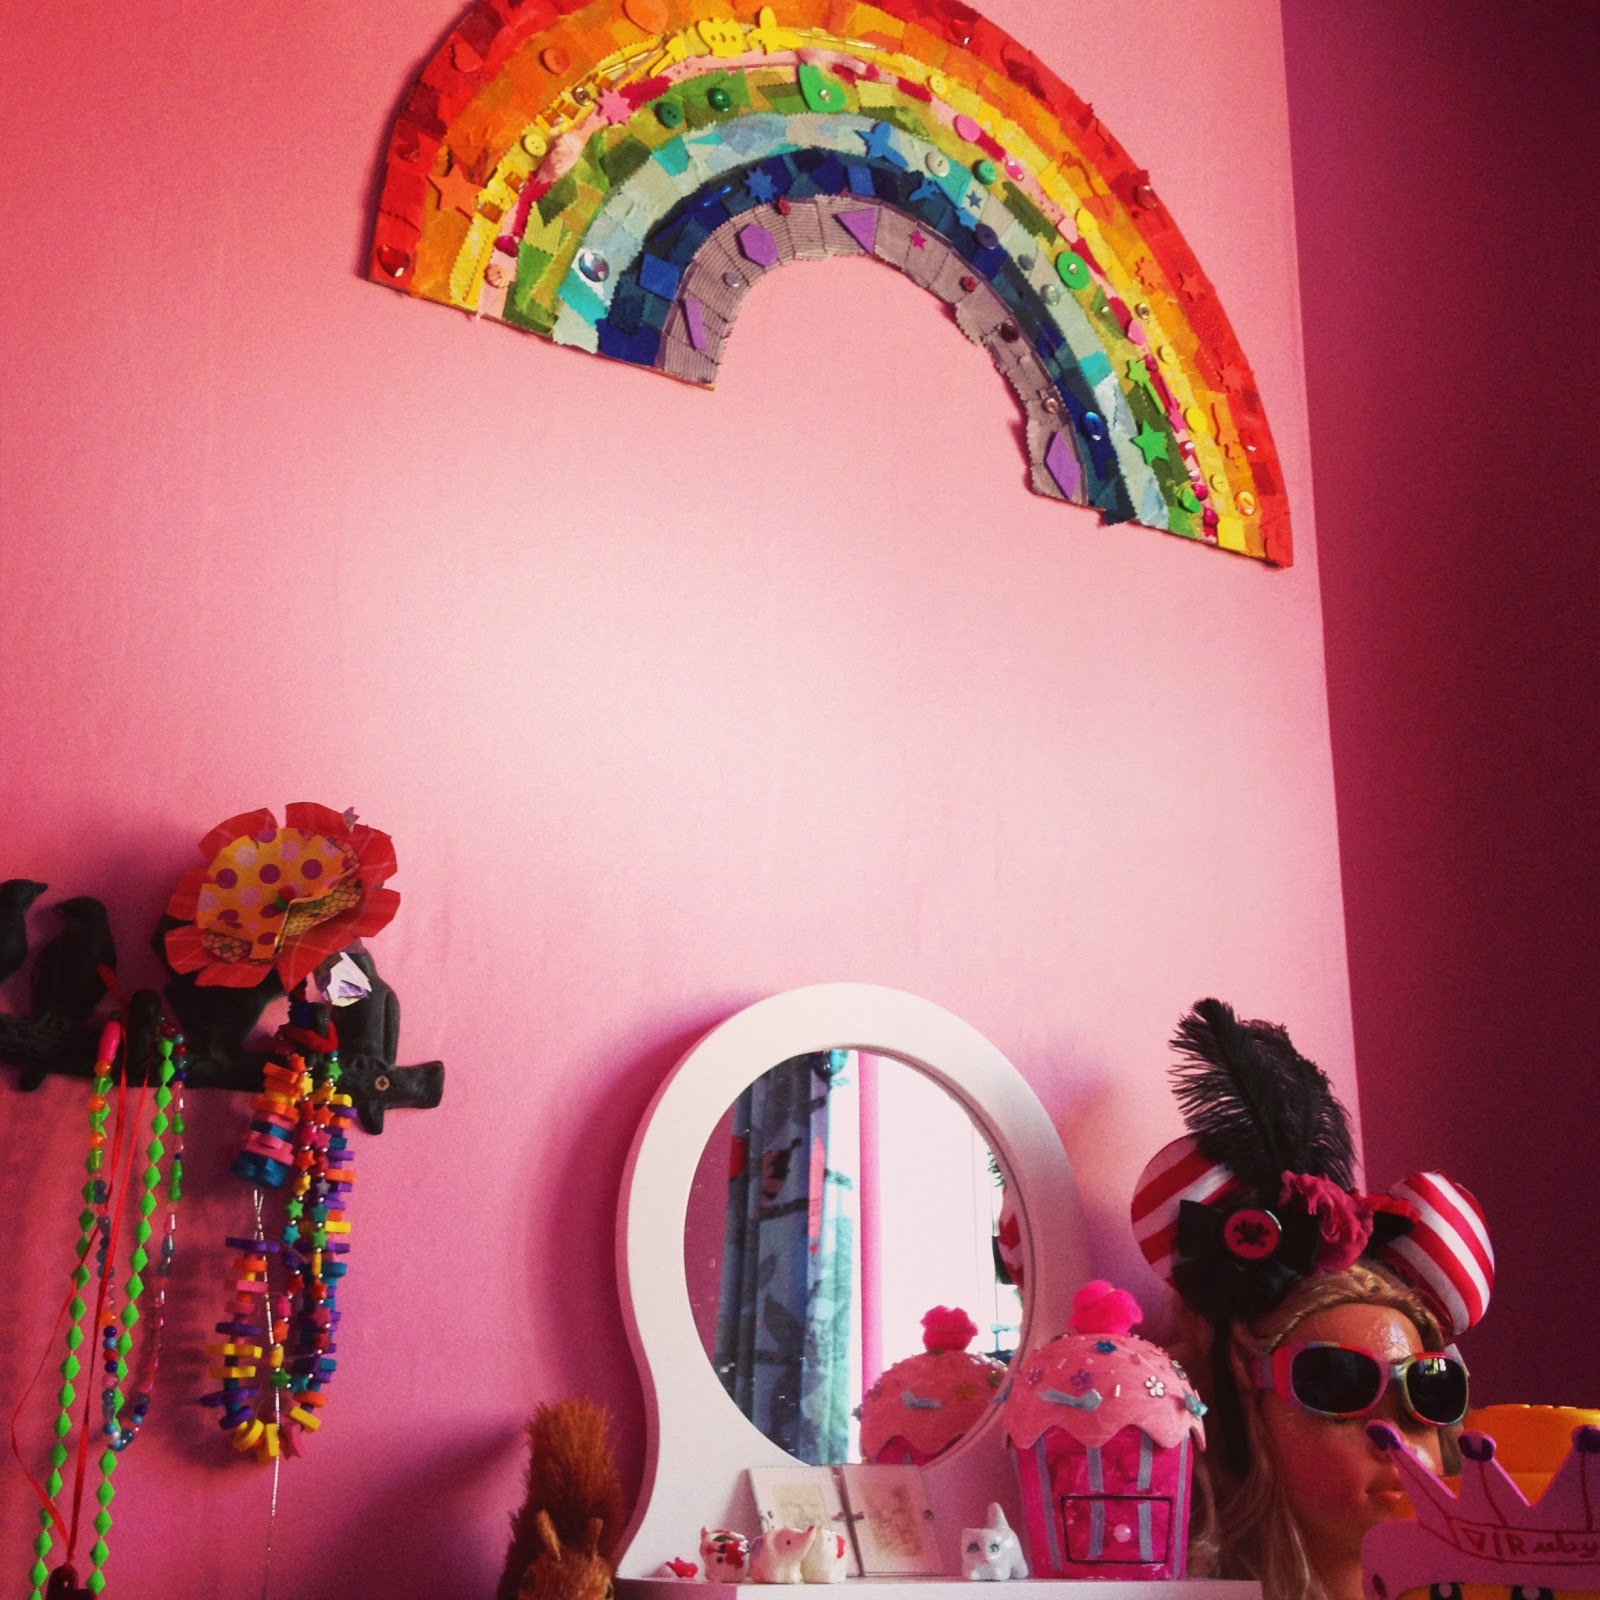
Ruby (and Mummy) Makes - A Rainbow (with tutorial)

The colour scheme plan for Ruby's bedroom was pink but when the time came to buy the paint she decided that she wanted rainbow colours. After all it is every girls prerogative to change their mind! In the end we compromised and stuck with the original pink plan and bought this lovely colourful fabric from Ikea for her curtains. 

Last Thursday when I asked her what she would like to do for the today she replied "something crafty" (I was so proud) so we made a rainbow for her bedroom wall.


We sang songs and looked at pictures of rainbows. As her walls are pink we went for the "Richard Of York Gave Battle In Vain" order of colours and drew out our plan. 


Here is how we made her rainbow!

Rainbow size: ours is 78cm across x 39cm from middle of the top to the bottom.

You will need

  • A rectangle of paper. (The size of the paper and base material depend on how big you want your rainbow to be. Ours was 78cmx39cm)
  • Sturdy base - we used thin MDF, you could use card or hardboard
  • Craft Knife
  • PVA glue
  • Scissors
  • Fabric scraps
  • Coloured paper
  • Sequins
  • Buttons
  • Anything that you like as long as it is colourful!
  • Felt tip pens

Make your rainbow template
Fold your piece of paper in half so that it is a square. With the folded side in the centre draw a curved line from the top of the fold to the bottom corner which is diagonally opposite. Make 7 more equally spaced out lines for the colours of the rainbow.
Cut along the 7th line so that when you unfold the paper you have a rainbow semi circle shape.

Take your piece of MDF, card or hardboard (whatever you are using for the base) and lay the unfolded template on top. Draw around the template and transfer the markings for each colour of the rainbow.


Using a craft knife, very carefully cut out the rainbow and then draw over each pencil line with the felt tips so that you know which colour goes in which section. 


This was where Ruby shouted "IT HAS TO HAVE PINK MUMMY!" so we sang a rainbow...
"Red and yellow and pink and green. Orange and purple and blue. I can sing a rainbow, sing a rainbow, sing a rainbow too" 
...and squeezed a bit of pink in between the yellow and green!

Next is the fun part!
Sort through the fabric stash, button jar, coloured papers etc and get together materials for all of the colours of the rainbow. We found foam shapes, cut up bits of fabric, tore up pieces of paper and tipped the button jar all over the floor and then sorted into piles.


We also found these these lovely beads that had lived in the button jar for 8 years. They used to live on a gorgeous pair of shoes that sadly didn't survive my hen night. Ruby helped me thread them on to a piece of elastic to make a necklace that we are apparently "sharing"!


Time to glue!
Using PVA glue we started on the red and stuck down the flat pieces fabric and paper first. We overlapped them slightly and then stuck the raised pieces (buttons, sparkles, foam piece etc.) on top. We then added a top coat of glue to make it shiny.


We worked through the other colours which took a long time. We stopped for lunch, to watch a TV programme and to play with the buttons. They were each given a name and Ruby used them in a school game. Their use is endless!


We finished just in time to collect Jacob from school and left the rainbow to dry under the radiator.


Here we are, two happy crafters!


Here it is the finished rainbow on the wall!


What do you think? Would you like to make a rainbow?

Saturday, 2 March 2013

Making Our House a Home

We moved here...

19 months ago knowing that we had a lot of work to do! 

Last year we had a new roof, electrics and central heating. We also converted our, inaccessible by car, garage into a craft/record room! More on that another day.

Just before Christmas we turned this...

Our Room of Requirement looked like this for over a year
Ruby's Room before

Into a very pink bedroom for Ruby that I can't seem to find a photo of. Oops, I'll take one when she has tidied up the toy explosion that went off in there.

We now need to crack on with the rest of the house. Yay, decorating time!!

Today we are making a start on the bathroom that currently doesn't have a shower, just a 1980's style plastic tap shower that annoyingly shoots off whenever I wash my hair. The bath is reasonably new and the sink we think might be original so we are keeping both of those. The plan is a bigger cupboard, a shower and get rid of the yellow walls and oatmeal tiles. You don't even want to see a photo of the laminate effect vinyl flooring that has to go! 


I've been spending most of my time this week drooling over bathroom images on Pinterest and compiling this board.

I'll post progress pics on Facebook and Instagram.

Right, I'm off to Wickes. Wish me luck!

p.s. Happy Birthday Ellen Jones!

Related Posts Plugin for WordPress, Blogger...