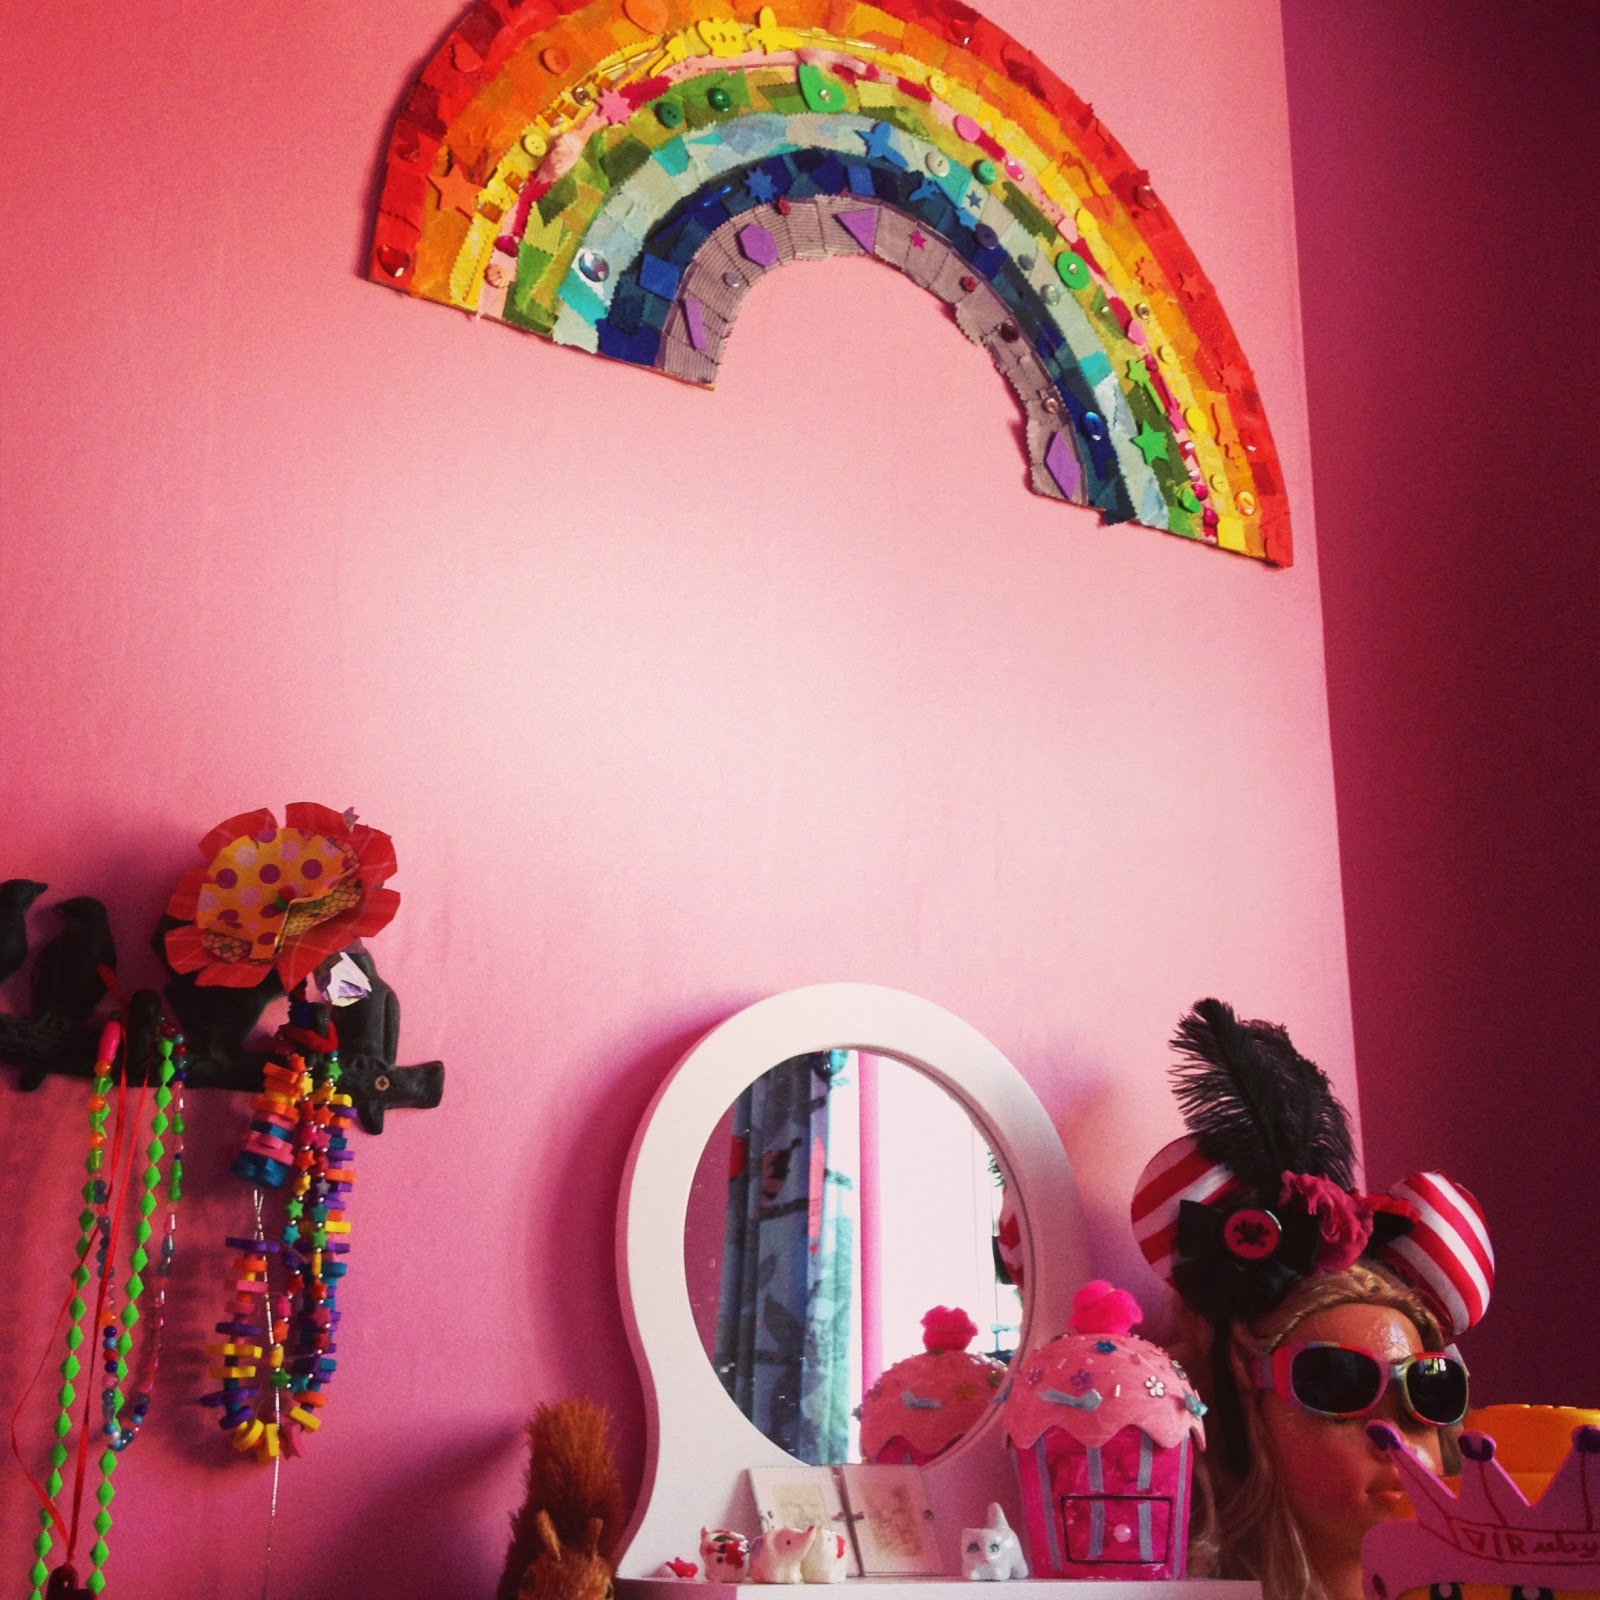
The colour scheme plan for Ruby's bedroom was pink but when the time came to buy the paint she decided that she wanted rainbow colours. After all it is every girls prerogative to change their mind! In the end we compromised and stuck with the original pink plan and bought this lovely colourful fabric from Ikea for her curtains.
Last Thursday when I asked her what she would like to do for the today she replied "something crafty" (I was so proud) so we made a rainbow for her bedroom wall.

We sang songs and looked at pictures of rainbows. As her walls are pink we went for the "Richard Of York Gave Battle In Vain" order of colours and drew out our plan.


Here is how we made her rainbow!
Rainbow size: ours is 78cm across x 39cm from middle of the top to the bottom.
You will need
- A rectangle of paper. (The size of the paper and base material depend on how big you want your rainbow to be. Ours was 78cmx39cm)
- Sturdy base - we used thin MDF, you could use card or hardboard
- Craft Knife
- PVA glue
- Scissors
- Fabric scraps
- Coloured paper
- Sequins
- Buttons
- Anything that you like as long as it is colourful!
- Felt tip pens
Make your rainbow template
Fold your piece of paper in half so that it is a square. With the folded side in the centre draw a curved line from the top of the fold to the bottom corner which is diagonally opposite. Make 7 more equally spaced out lines for the colours of the rainbow.
Cut along the 7th line so that when you unfold the paper you have a rainbow semi circle shape.
Take your piece of MDF, card or hardboard (whatever you are using for the base) and lay the unfolded template on top. Draw around the template and transfer the markings for each colour of the rainbow.


Using a craft knife, very carefully cut out the rainbow and then draw over each pencil line with the felt tips so that you know which colour goes in which section.


This was where Ruby shouted "IT HAS TO HAVE PINK MUMMY!" so we sang a rainbow...
"Red and yellow and pink and green. Orange and purple and blue. I can sing a rainbow, sing a rainbow, sing a rainbow too"
...and squeezed a bit of pink in between the yellow and green!
Next is the fun part!
Sort through the fabric stash, button jar, coloured papers etc and get together materials for all of the colours of the rainbow. We found foam shapes, cut up bits of fabric, tore up pieces of paper and tipped the button jar all over the floor and then sorted into piles.


We also found these these lovely beads that had lived in the button jar for 8 years. They used to live on a gorgeous pair of shoes that sadly didn't survive my hen night. Ruby helped me thread them on to a piece of elastic to make a necklace that we are apparently "sharing"!

Time to glue!
Using PVA glue we started on the red and stuck down the flat pieces fabric and paper first. We overlapped them slightly and then stuck the raised pieces (buttons, sparkles, foam piece etc.) on top. We then added a top coat of glue to make it shiny.

We worked through the other colours which took a long time. We stopped for lunch, to watch a TV programme and to play with the buttons. They were each given a name and Ruby used them in a school game. Their use is endless!


We finished just in time to collect Jacob from school and left the rainbow to dry under the radiator.


Here we are, two happy crafters!

Here it is the finished rainbow on the wall!
What do you think? Would you like to make a rainbow?


