Friday, 8 March 2013

Flashback Friday - Jacob and Ruby Learning to Sew

Whilst scrolling through iPhoto looking for some Flashback Friday inspiration I came across these pictures of Jacob and Ruby learning to sew.


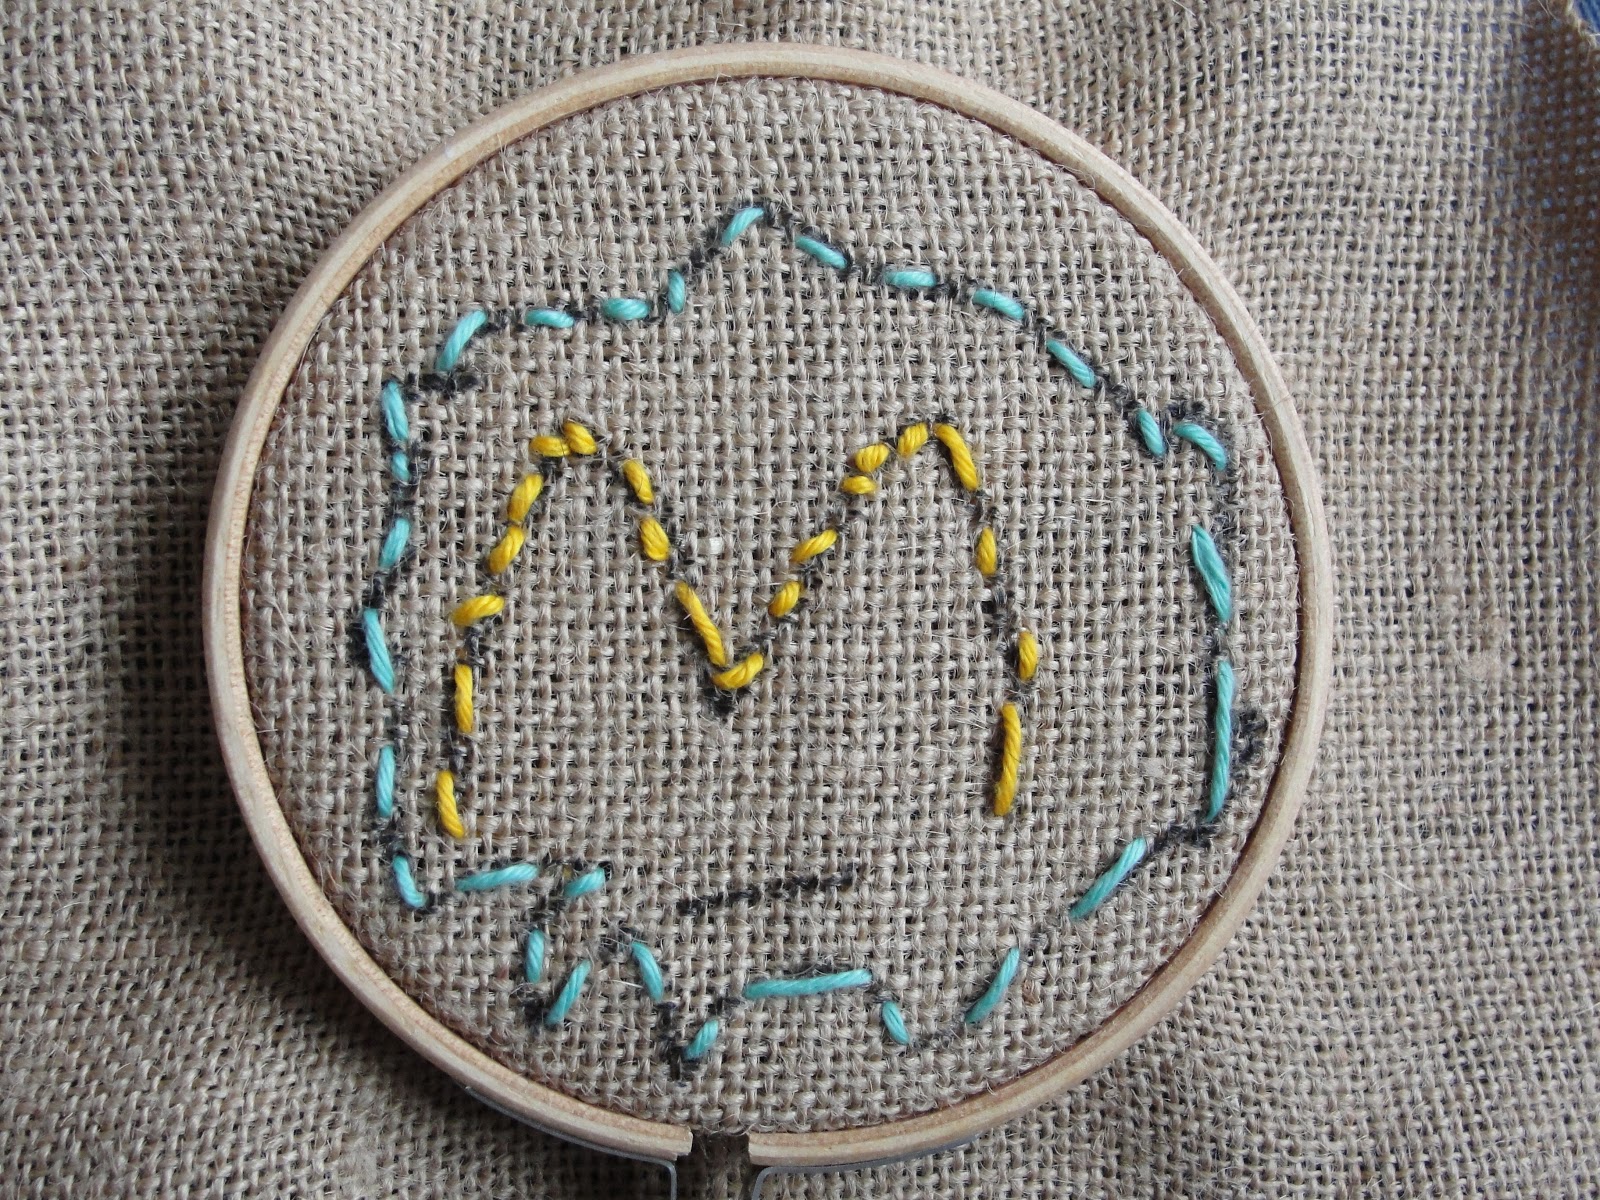
Jacob must have been about four and a bit here when he sewed a M for Marmalade cover.
He spent ages working away on it. Check out his chubby hands and cheeks! they've gone now that he is seven.


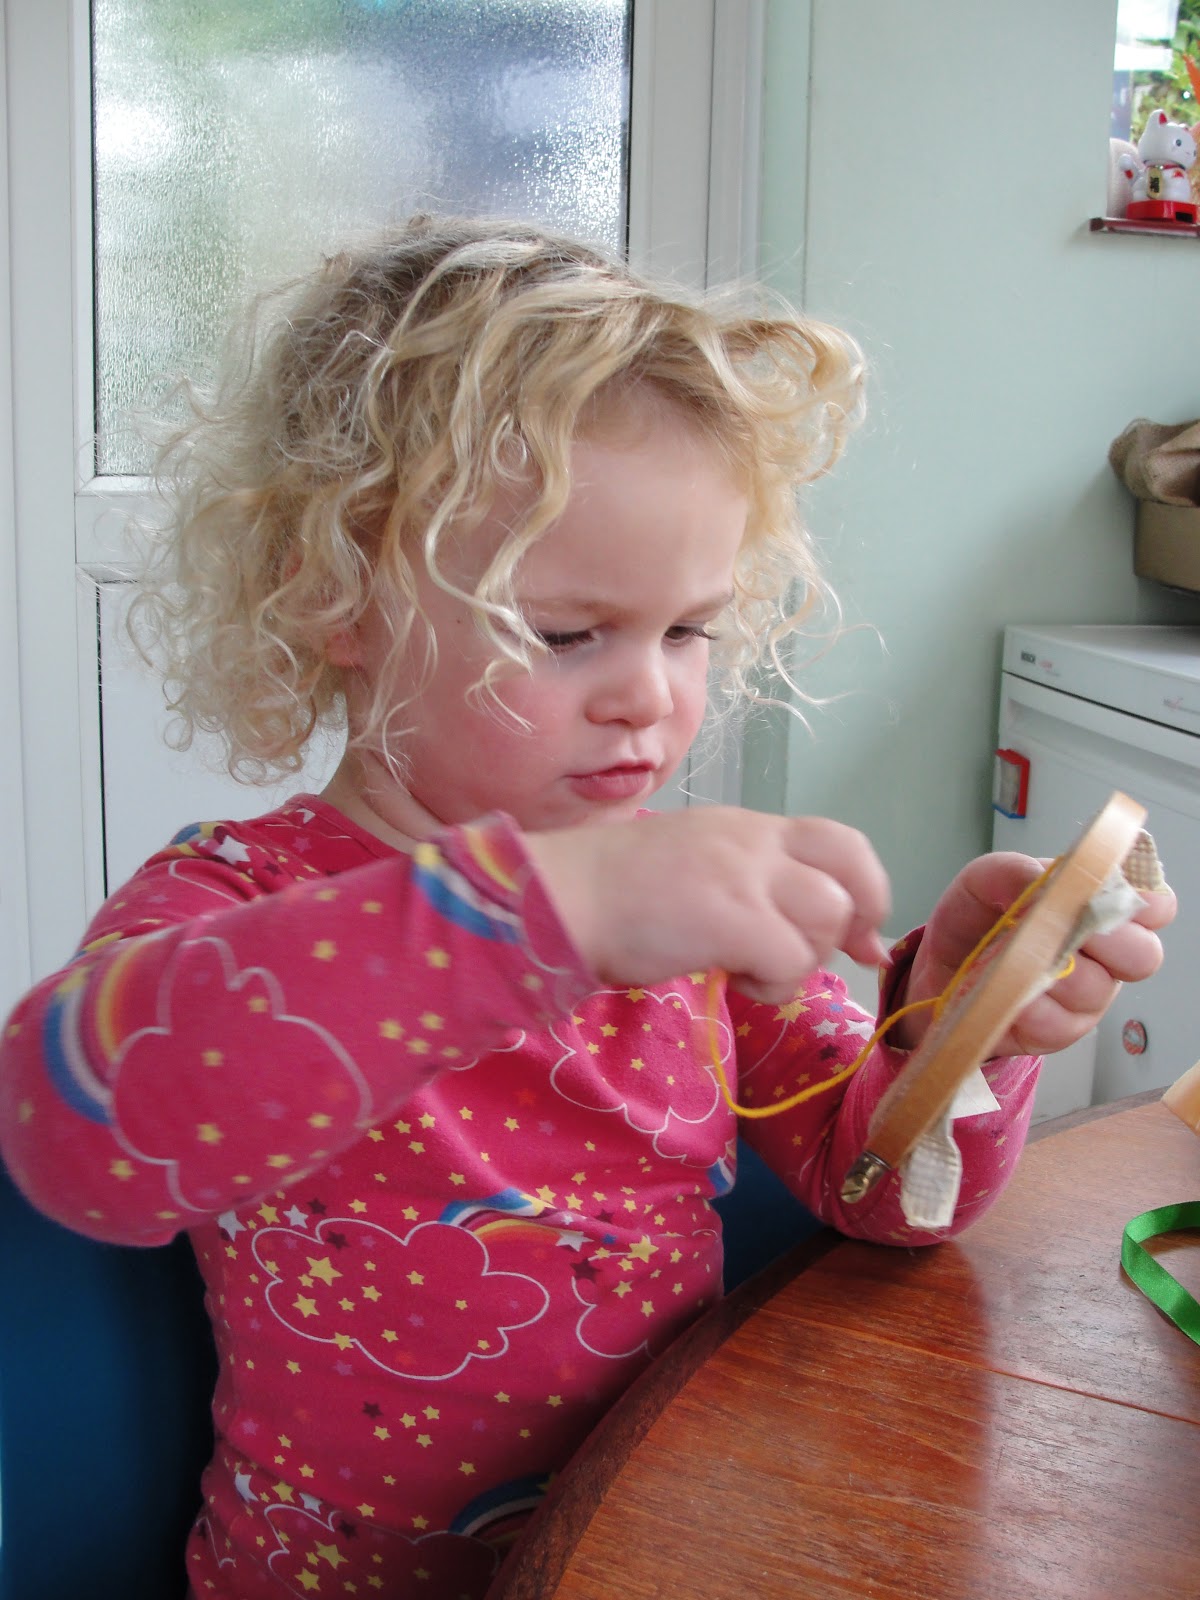
Ruby was a lot younger when she started sewing, I am guessing that she is just under three in these photo's. Look at that hair and concentration on her face. So cute :)


I remember learning to sew on Binca at primary school. When did you learn to sew?


Thursday, 7 March 2013

World Book Day - Dressing Up

Jacob's school dressed up today for World Book Day. 

Can you guess who he is?


Gandalf from The Hobbit!

Wearing a travelling cape made by me earlier this year and a wadding beard that I wasn't sure would last the day but it did!
Apparently the expression on his face is his Gandalf face?!

Did you or your kids do anything special for World Book Day? 

Tuesday, 5 March 2013

Mosaic Making at Treloan

I'm a bit obsessed with tiles this week and have spent today looking at grout for the bathroom. I came across a mosaic website and it reminded me of this... 


I'm about to let you in on a little secret (don't tell Chris I told you!)... we fell in love with Cornwall three years ago and have been here every year since. We went for the Jubilee bank holiday and whilst we were there we attended a mosaic event run onsite. I had only ever tiled a bathroom and kitchen before so I was excited to have a go. We were there for hours and everyone added a little bit. I think I did the B, I and an E in Jubilee. Ruby and Chris did some of the black border and Jacob did a lot of cutting with the nibblers.


I love the mosaics by Charley Harper and using them as inspiration I would like to have another go and make some art for our garden.

Have you ever made a mosaic?


Monday, 4 March 2013

Ruby (and Mummy) Makes - A Rainbow (with tutorial)

The colour scheme plan for Ruby's bedroom was pink but when the time came to buy the paint she decided that she wanted rainbow colours. After all it is every girls prerogative to change their mind! In the end we compromised and stuck with the original pink plan and bought this lovely colourful fabric from Ikea for her curtains. 

Last Thursday when I asked her what she would like to do for the today she replied "something crafty" (I was so proud) so we made a rainbow for her bedroom wall.


We sang songs and looked at pictures of rainbows. As her walls are pink we went for the "Richard Of York Gave Battle In Vain" order of colours and drew out our plan. 


Here is how we made her rainbow!

Rainbow size: ours is 78cm across x 39cm from middle of the top to the bottom.

You will need

  • A rectangle of paper. (The size of the paper and base material depend on how big you want your rainbow to be. Ours was 78cmx39cm)
  • Sturdy base - we used thin MDF, you could use card or hardboard
  • Craft Knife
  • PVA glue
  • Scissors
  • Fabric scraps
  • Coloured paper
  • Sequins
  • Buttons
  • Anything that you like as long as it is colourful!
  • Felt tip pens

Make your rainbow template
Fold your piece of paper in half so that it is a square. With the folded side in the centre draw a curved line from the top of the fold to the bottom corner which is diagonally opposite. Make 7 more equally spaced out lines for the colours of the rainbow.
Cut along the 7th line so that when you unfold the paper you have a rainbow semi circle shape.

Take your piece of MDF, card or hardboard (whatever you are using for the base) and lay the unfolded template on top. Draw around the template and transfer the markings for each colour of the rainbow.


Using a craft knife, very carefully cut out the rainbow and then draw over each pencil line with the felt tips so that you know which colour goes in which section. 


This was where Ruby shouted "IT HAS TO HAVE PINK MUMMY!" so we sang a rainbow...
"Red and yellow and pink and green. Orange and purple and blue. I can sing a rainbow, sing a rainbow, sing a rainbow too" 
...and squeezed a bit of pink in between the yellow and green!

Next is the fun part!
Sort through the fabric stash, button jar, coloured papers etc and get together materials for all of the colours of the rainbow. We found foam shapes, cut up bits of fabric, tore up pieces of paper and tipped the button jar all over the floor and then sorted into piles.


We also found these these lovely beads that had lived in the button jar for 8 years. They used to live on a gorgeous pair of shoes that sadly didn't survive my hen night. Ruby helped me thread them on to a piece of elastic to make a necklace that we are apparently "sharing"!


Time to glue!
Using PVA glue we started on the red and stuck down the flat pieces fabric and paper first. We overlapped them slightly and then stuck the raised pieces (buttons, sparkles, foam piece etc.) on top. We then added a top coat of glue to make it shiny.


We worked through the other colours which took a long time. We stopped for lunch, to watch a TV programme and to play with the buttons. They were each given a name and Ruby used them in a school game. Their use is endless!


We finished just in time to collect Jacob from school and left the rainbow to dry under the radiator.


Here we are, two happy crafters!


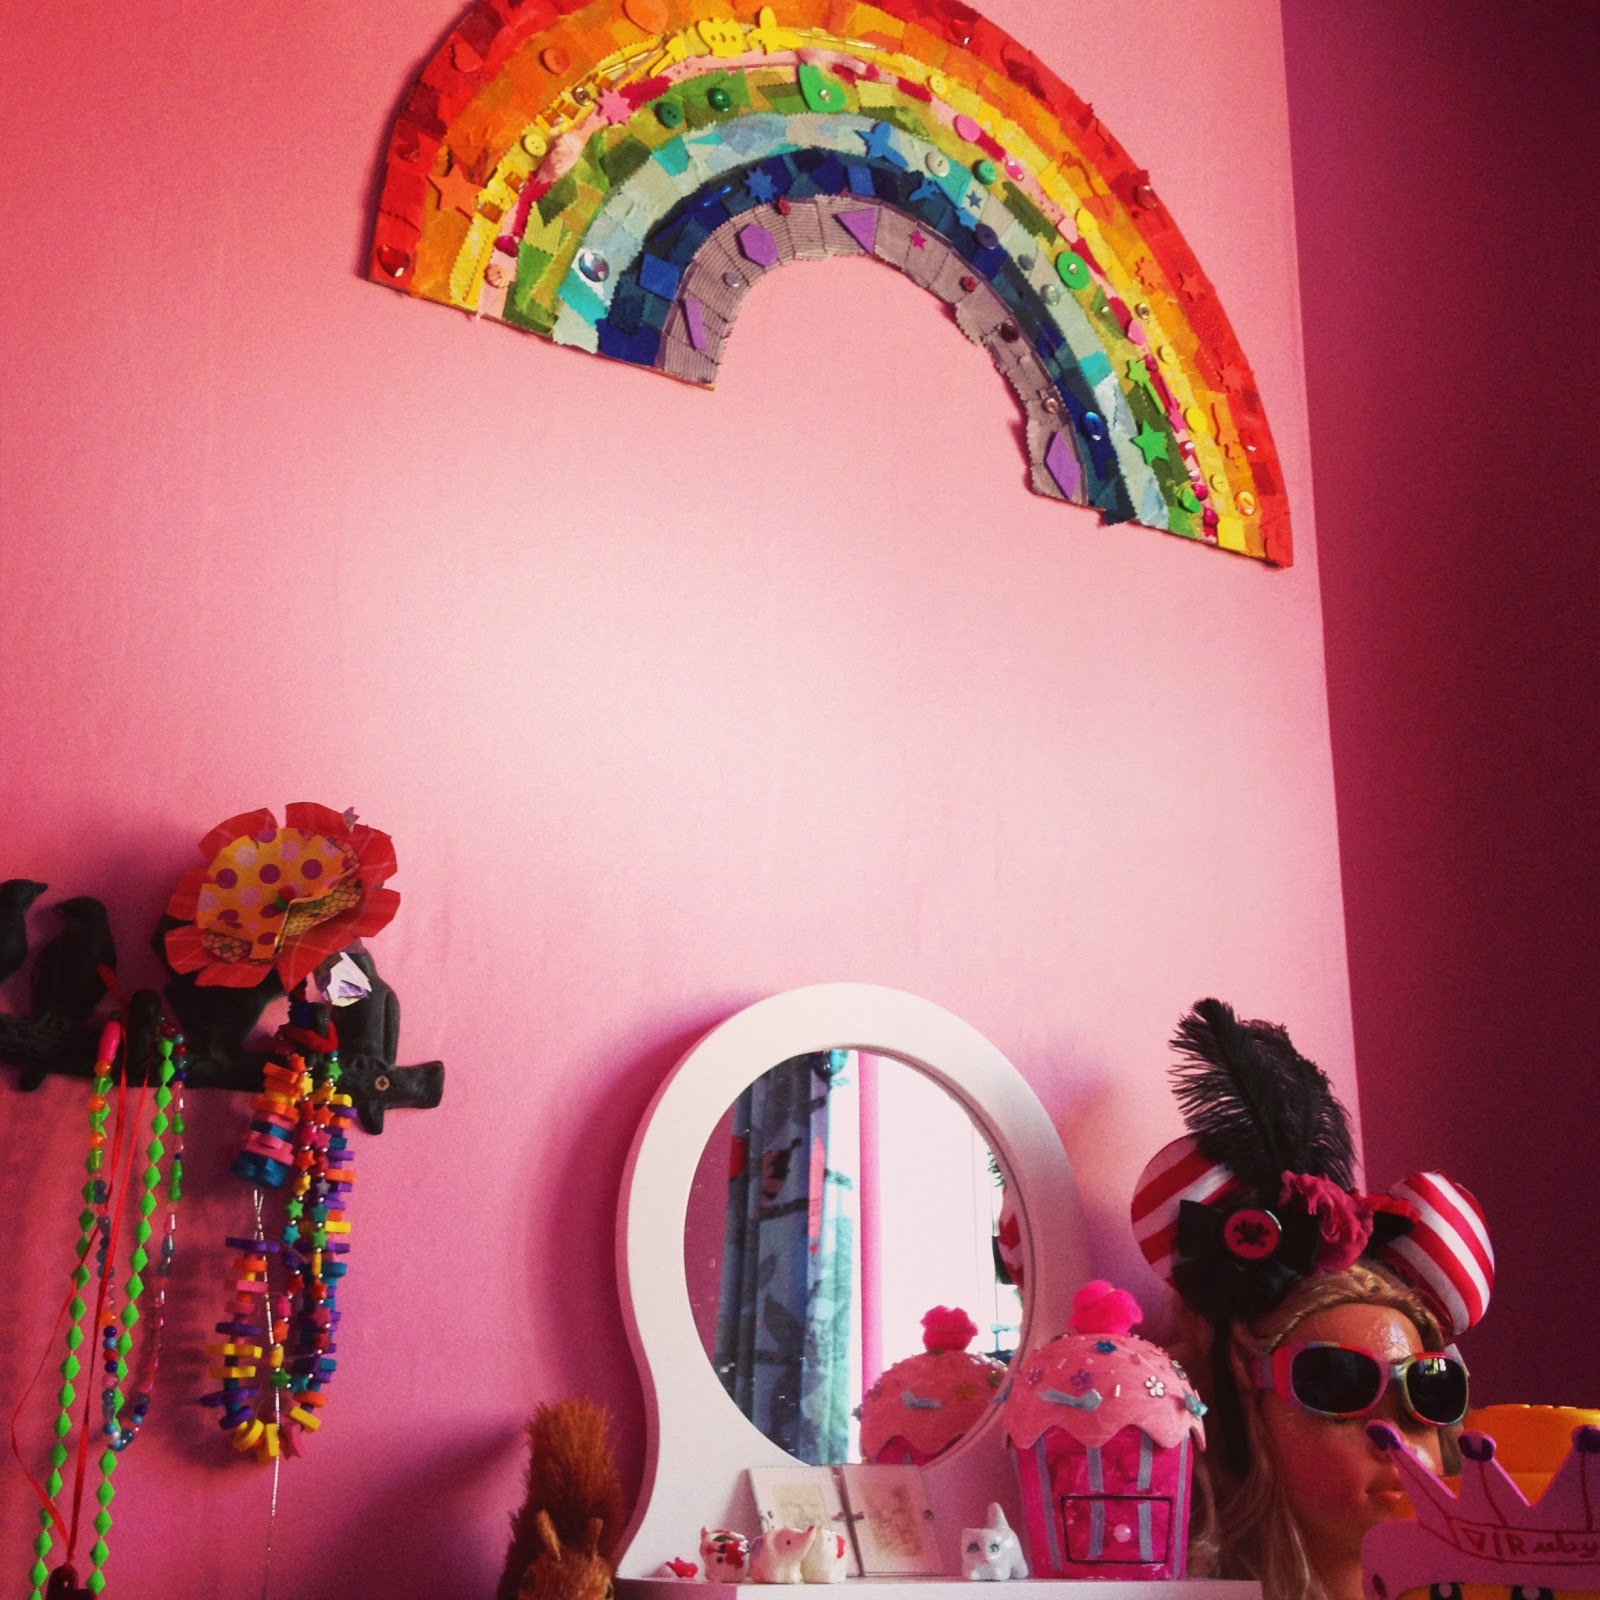
Here it is the finished rainbow on the wall!


What do you think? Would you like to make a rainbow?

Saturday, 2 March 2013

Making Our House a Home

We moved here...

19 months ago knowing that we had a lot of work to do! 

Last year we had a new roof, electrics and central heating. We also converted our, inaccessible by car, garage into a craft/record room! More on that another day.

Just before Christmas we turned this...

Our Room of Requirement looked like this for over a year
Ruby's Room before

Into a very pink bedroom for Ruby that I can't seem to find a photo of. Oops, I'll take one when she has tidied up the toy explosion that went off in there.

We now need to crack on with the rest of the house. Yay, decorating time!!

Today we are making a start on the bathroom that currently doesn't have a shower, just a 1980's style plastic tap shower that annoyingly shoots off whenever I wash my hair. The bath is reasonably new and the sink we think might be original so we are keeping both of those. The plan is a bigger cupboard, a shower and get rid of the yellow walls and oatmeal tiles. You don't even want to see a photo of the laminate effect vinyl flooring that has to go! 


I've been spending most of my time this week drooling over bathroom images on Pinterest and compiling this board.

I'll post progress pics on Facebook and Instagram.

Right, I'm off to Wickes. Wish me luck!

p.s. Happy Birthday Ellen Jones!

Friday, 1 March 2013

Flashback Friday - Hello Kitty Party

My baby girl turned 4 on the 1st of January 2013 and her party planning started in June (she really is a mini me). The list of the themes she wanted went, an office party at Daddy's work? a chocolate party at Cadbury world (er No, it's 3 hours away), a fairy party and a princess party. She finally decided on a Hello Kitty party 5 weeks before the big day. 

A quick search online and we found loads of inspiration for the decorations and games. And this is what we did...

We had the party with 23 guests from 10am -12noon which left us with the rest of the day to recover.

Decorations

We hired Patcham Memorial Hall because it's a lovely and has fairy lights strung from the beams. We turned these on and hung up pink and red paper chains, tissue paper flower garlands and happy birthday bunting. 
I bought some cheap satin and 10m of bright pink honeycomb parc from Fabricland. I made a large satin bow by sewing a large oval with the right sides together leaving a small gap in the centre to turn the fabric the right side out. I then made a 5cm x 20cm long rectangle in the same way leaving a 5cm end open. Turned it the right way out and tied it round the middle of the oval to make the bow. A safety pin on the back and string and it was ready to hang up.
I cut the pink honeycomb parc to cover the tables and had enough left over to pin round the entrance door. I made the drape by tying a piece of string in the centre.
Ruby got a big ballet kitty for Christmas and she sat on the gift table.


A pack of cheap pink ribbon from Tiger was cut up into strips and tied into bows on each chair. 

There were also Hello Kitty paper lanterns hanging from the ceiling. I bought 3 99p paper lanterns from Asda and used felt tip pens to draw on a Hello Kitty face. I used these cookie cutters I bought from Pretty Neat Things as a stencil for the bow, cut them out of red paper and stuck them on. I tied big lengths of string to the wire inside and tied them to the beams. I saw this idea as a Hello Kitty Piñata and all you would need to do is add a piece of paper to cover the hole at the bottom and then fill with sweets and hand the kids a stick and stand back!


Games and activities

I printed off sheets of Hello Kitty colouring from somewhere online for the kids to do when they arrived. My friend Kay helped me with face painting Kitty's on to the kids faces. I was impressed with how many of the boys wanted to look like Kitty or in some cases Hello Kevin. They won't want to do that when they turn 5 :( We told them we could only paint Kitty's which stopped the requests for Spiderman.


Using the "how to draw Kitty" in Ruby's magazine I made a Pin the bow on Kitty out of card. There was a little red bow for them to stick on and a Hello Kitty mask for them to wear. The winner got a Mega Blocks Hello Kitty figure or a Dinosaur figure.

We decided to play lots of games that didn't necessarily involve winners and prizes which worked really well.

There was music on including the very catchy Hello Kitty's Wonderland from iTunes and pink balloons to play with.

As an ice breaker we played Matching Pairs. I made up 23 pairs of cards with a coloured shape on one side and a Hello Kitty image cut out from gift wrap on the other. I then hid the cards around the hall and gave each child a card. When they had found their pair they had to return both cards to me and I gave them a sticker.

We played a balloon game where the kids had to partner up and face each other holding a balloon between their tummies without touching it. They then had to copy simple instructions like, step to the side or put your arms in the air. When you dropped a balloon you were out. The last pair were the winners. They were very good at this game and it took up about 15 minutes.

The last game before lunch was Copy Kitty where the kids took it in turns to be a cat and the others had to copy them. They did things like "play with a ball of string""wash their faces" and "chase the mouse". They all got a go, had lots of fun and used up some energy.

Party food and cake
Not a lot of photo's of the food, it didn't hang around long enough.

Using the Hello Kitty cookie cutters we made bow and kitty face jam and cream cheese sandwiches. Served, mini sausages, hoola hoops and grapes. I cut out lots of red paper bows and stuck them to plastic cups containing pink smarties. Using icing gel pens I put kitty faces onto mini meringues. And you can't have a party without party rings and chocolate fingers on a pretty cardboard cake stand. I love these as they are so easy to store. There was also jelly.


Last but not least was probably the easiest cake I have ever made. I covered a square chocolate sponge cake with buttercream and pink fondant icing and using a cardboard stencil that I had made for the mask I cut out a white fondant Kitty face. I used liquorice laces for the eyes, whiskers, nose and edge of the face and bow.  The nose and bow are coloured fondant. She was yummy!


A little Hello Kitty tip I learnt from Ruby's magazine is that Kitty always wears her red bow over her left ear and her twin Mimmy wears her yellow bow over her right ear!


Finally a very big thank you to Selena for helping me set up the decorations and to Kay for the face painting xx

Ruby says a big thank you too. To all her guests for coming and especially to Rachel and George for the Hello Kitty PJ case, as you can see it doubles up at a head for Ruby Kitty!

Related Posts Plugin for WordPress, Blogger...