Monday, 3 February 2014

Making a Lego Pin Board

In the run up to last Christmas I went decorating crazy with four rooms in two months getting a make over. The first and most fun room to be done was Jacob's room. The walls were painted in Crown Originals 1997 Aqua. I love the colour but I made a mistake not buying a tough wipeable paint. I already have to re-coat the wall by the door that is covered in hand prints that don't wipe off.

When we moved in to the house this room contained some big built in wardrobes that are not in great condition. As they are fantastic for storing lots of stuff we decided to keep them rather than replacing them with shop bought wardrobes and gave them a face lift. 

The insides were brightened up with white emulsion and the shelves were reinforced to withstand the weight of the keepsake box and baby clothes that I can't bare to get rid off.

The outside was rubbed down, holes were filled and hinges tightened. Then the doors and frames had a coat of white emulsion before each door got it's final finish. 

Doors Before...

There are four small doors a the top and four main doors below.


The top doors were covered with découpage maps and comic strips.


The main doors each had a different finish. I left a set of doors painted plain so that posters and photo's can be blu tacked up and changed as desired. There is a blackboard door, made using blackboard spray paint and a Lego Pin Board.

Jacob is a massive Lego Fan and I wanted to incorporate a Lego element that would last a few years. I found some circle cork coasters at Ikea and thought they would be perfect to create a Lego pin board.

Using a flat 4 stud lego piece for inspiration I started by measuring the diameter of the cork circles and the length and width of the door. Based on these measurements I worked out where to place the cork circles so they were equally spaced out. I then used a No More Nails adhesive to stick the circles to the door, following the instructions on the tube. 

Once dry I painted the cork circles with a couple of coats of white emulsion to even out the base colour of the door before I added the colourful paint.


When the white was dry I added three coats of the top coat paint, rubbing down the door after the first two coats. I love this yellow and it looks great with the other colours in the room.

I then added a couple of pins and Jacob did the rest :)


Friday, 31 January 2014

Flashback Friday - Laser Zone Birthday Cake

I spent most of last autumn with my head in my one piece garment City and Guild course at MIY Workshop which meant that blogging was put on hold.

Whilst sorting through my iPhoto folder I found the photo's from Jacob's 8th birthday cake. He had a Lazer Zone party which was so easy, all I had to do was send out invites, make a cake and turn up on time!

How I made a Laser cake!

To make the lasers I mixed up a three egg vanilla sponge. I then divided it into 4 and coloured each quarter with food colouring. I baked them in loaf liners and once cooked and cooled I cut them into strips.


I then mixed up a six egg vanilla sponge for my 20cm x 20cm tin that had been lined with greaseproof paper. I spread a spatula of mixture on the bottom and then layered the laser pieces across the plain mix. Another spatular of plain mix went on top and then more lasers were added and so on until all of the lasers were in the cake and the final spatula of plain mix was on top.


Once cooked and cooled I cut the cake in half and added a layer of jam.


To decorate the cake I dirty iced the sponge with buttercream and then covered with grey fondant icing. I placed liquorice cables on top with a fondant ball in the middle ready for the glow sticks to go through as I didn't want to place the glow sticks directly in the cake.


I cracked the glow sticks just before the cake was served and 8 plain coloured candles finished it off.


Thursday, 30 January 2014

Project in Progress - re-creating retro Sindy, Barbie and Tressy Doll Clothes

Sindy (on the left) is mine from the early 1980's and Barbie (on the right) is from Toy Story 3 and belongs to Ruby. We have a difference in opinion over who is prettier, Ruby thinks Barbie and I think Sindy. We do agree on how lovely their new clothes are that came from Emmaus a couple of weeks ago. 


My friend and I sat on the floor and searched through a box of clothes selecting the ones I liked the best. In the end I cam home with some lovely retro Sindy and Barbie Outfits. Also in the box were some Tressy Doll Clothes. Tressy Dolls were made in the UK in the early 1960's and my Mum used to have one. 

When Ruby got home from school we tried all of the outfits on her dolls and they did a fashion show :) I felt rather envious of Sindy's shift dress and the grey Tressy dress. So armed with my new skills from my City and Guild's course at MIY Workshop and my Winifred Aldrich Pattern Cutting book I am going to re-create some of the outfits in my size. 

Now which one first?

Monday, 20 January 2014

MIY Workshop wins "Brighton and Hove Council's "Dressed for Success" Competition

Back at the beginning of December I wrote about the MIY Workshop Christmas window in my crafty catchup. The Christmas window display was entered into Brighton and Hove Council's "Dressed for Success" competition and last Tuesday I attended the awards ceremony with Wendy and Lauren to find out that the window had won in the Best Overall category.

Congratulations Wendy and Lauren! The holes in my fingers from sewing the suffolk puff snowflakes have finally healed!

Read Wendy's blog post about her shop window here!

Under the Sea Afternoon Tea

A belated Happy New Year!

Our New Year always has a delayed start, we have birthday after birthday until the middle of the month. My Mum's is on NYE, Ruby was a New Years Day baby and mine is on the 10th. As A result I don't feel like the new year properly starts until the middle of January.

This year was busy than normal as I also had my City and Guild's coursework to give in and it was a last minute rush because I had spent all my time preparing for Ruby's Under the Sea Afternoon Tea!

Ruby is a mermaid with legs, she loves swimming and The Octonauts so an Under the Sea theme party was inevitable. This is her 5th birthday party!

The Birthday Mermaid

Ruby wore her mermaid dress that I made for her 4th birthday present. She's had a lot of wear out of it, especially here!

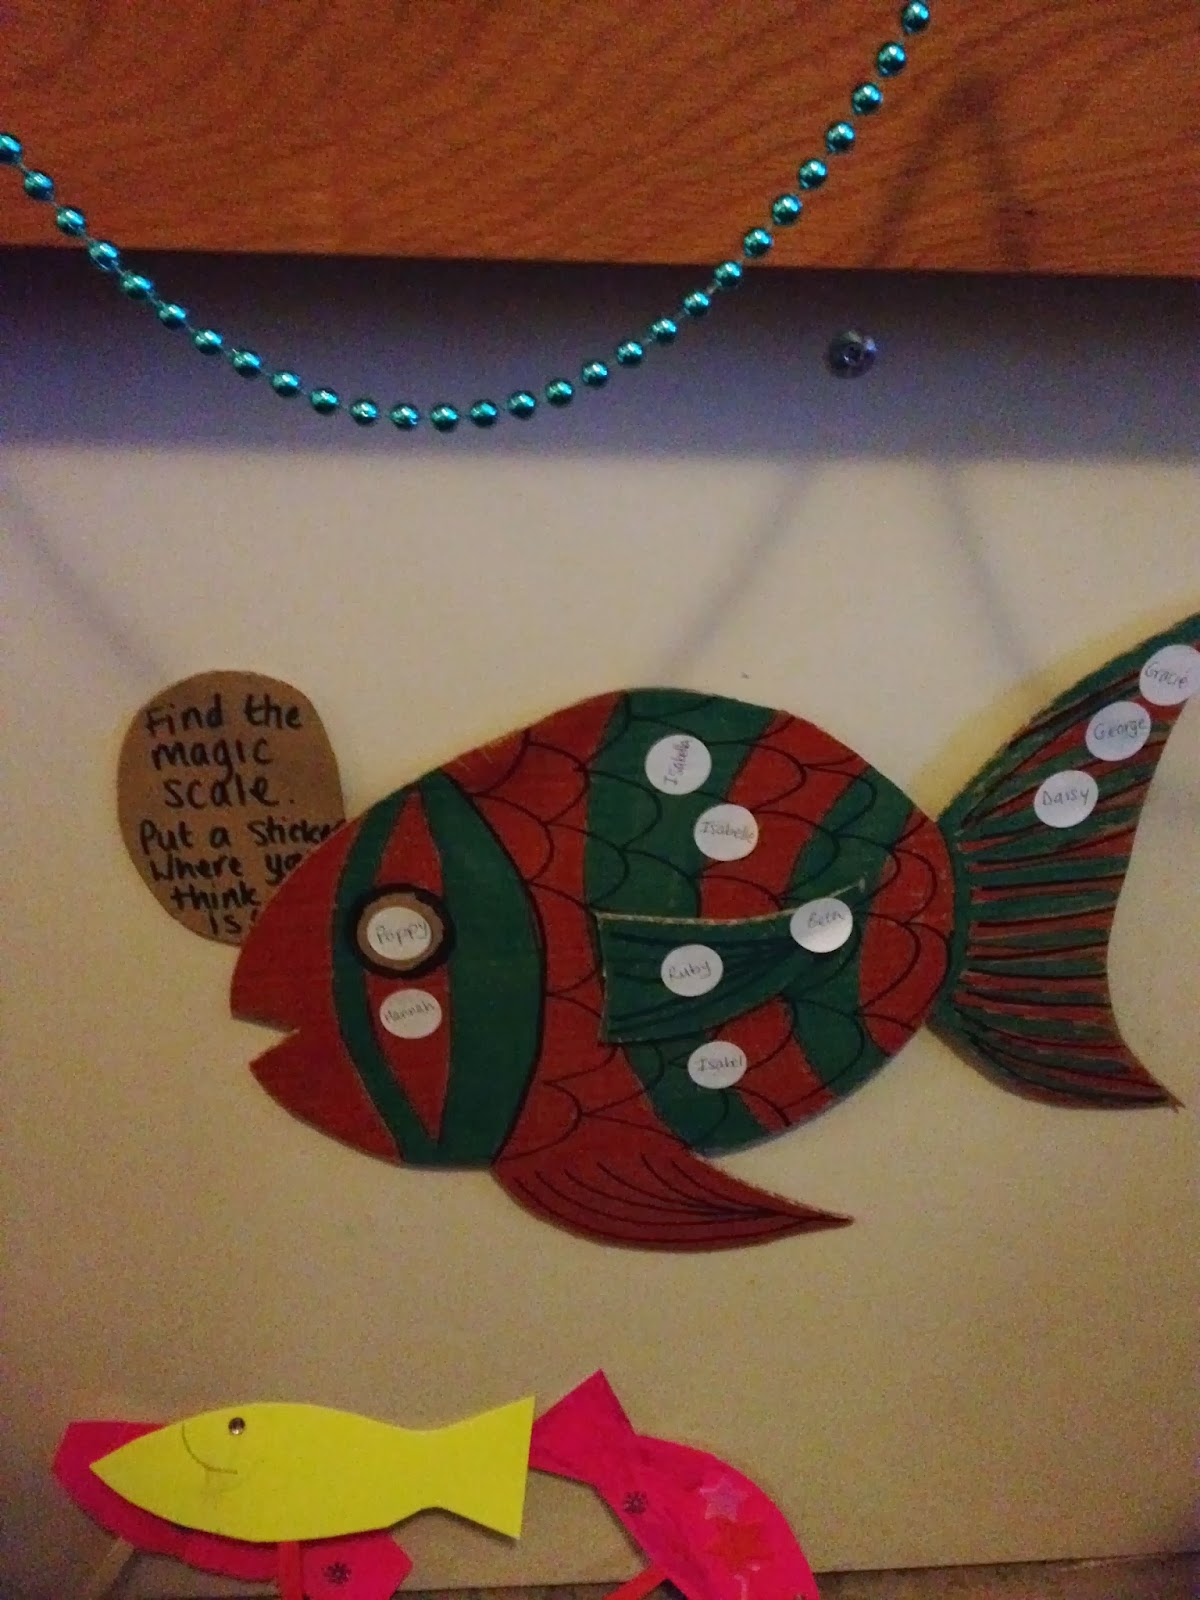
My friend Lou saved the day by lending me her cardboard fish from her under the sea party and I mixed them up with blue netting that was draped across cotton that had been zigzagged across the ceiling. Blue pearlised balloons weighted down with a button inside hung from the cotton.

I bought some blue sequin fabric from Fabricland and hung it up over the living room door so that the guests could "enter the sea".


We also hung fairy lights from the ceiling, paper garlands across the room and displays of shells on fabric covered surfaces.


When the party guests arrived they made jelly fish, using paper bowls, strips of the tissue paper and tape. We hung them from the ceiling to add to the decorations. 


With some guests dressed as mermaids and divers they played pass the parcel with pretty shells in each layer, find the magic scale on the fish and throw a bean bag at the octopus.
To make the octopus and the fish game (not shown) I saved Ikea packaging and drew the octopus on, cut a hole for the mouth and provided bean bags to throw through the mouth.


I think my favourite game of the party was the one where each child had to lie on the floor with a sweet on their head. We told them jokes and tickled their toes until there was only one child left. I great way for a little bit of peace at a party.


Fish Food!
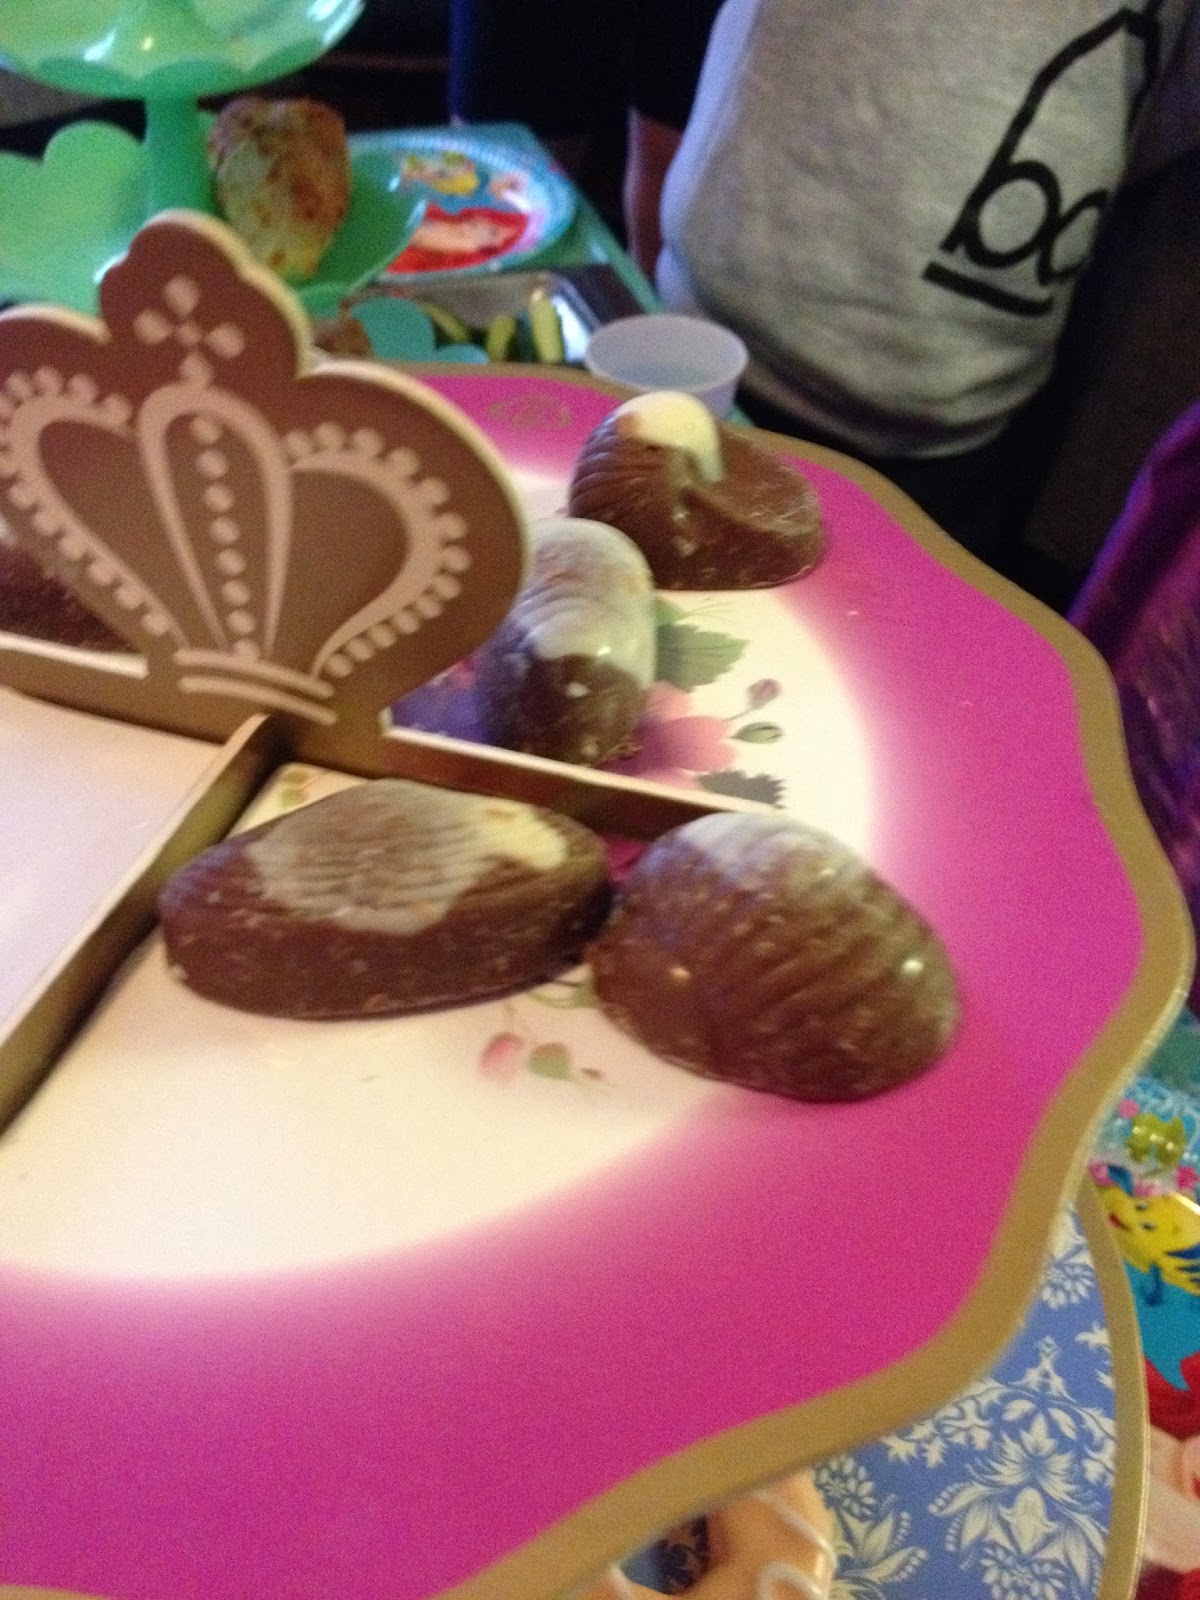
The kids ate jam and cream cheese dolphin shaped sandwiches, melon from the melon fish, chocolate shells and macaroon oysters (made by Auntie Anna).


The cake was a vanila ombre ruffle cake with waves, a sandy beach and a toy mermaid on top. I can't find a photo of it but the inside was six layers of blue sponge.


I couldn't resist a photo of Jacob posing as the octopus, he was fantastic on the day and "manned" the octopus game, taking a number of bean bags to the stomach, and the fishing game. Maybe next year he can run the party all by himself!


Friday, 6 December 2013

Crafty Catch Up

I have been a bit quiet on here over the summer/autumn but I have still been busy sewing and making...

I made a bear hat for Ruby.


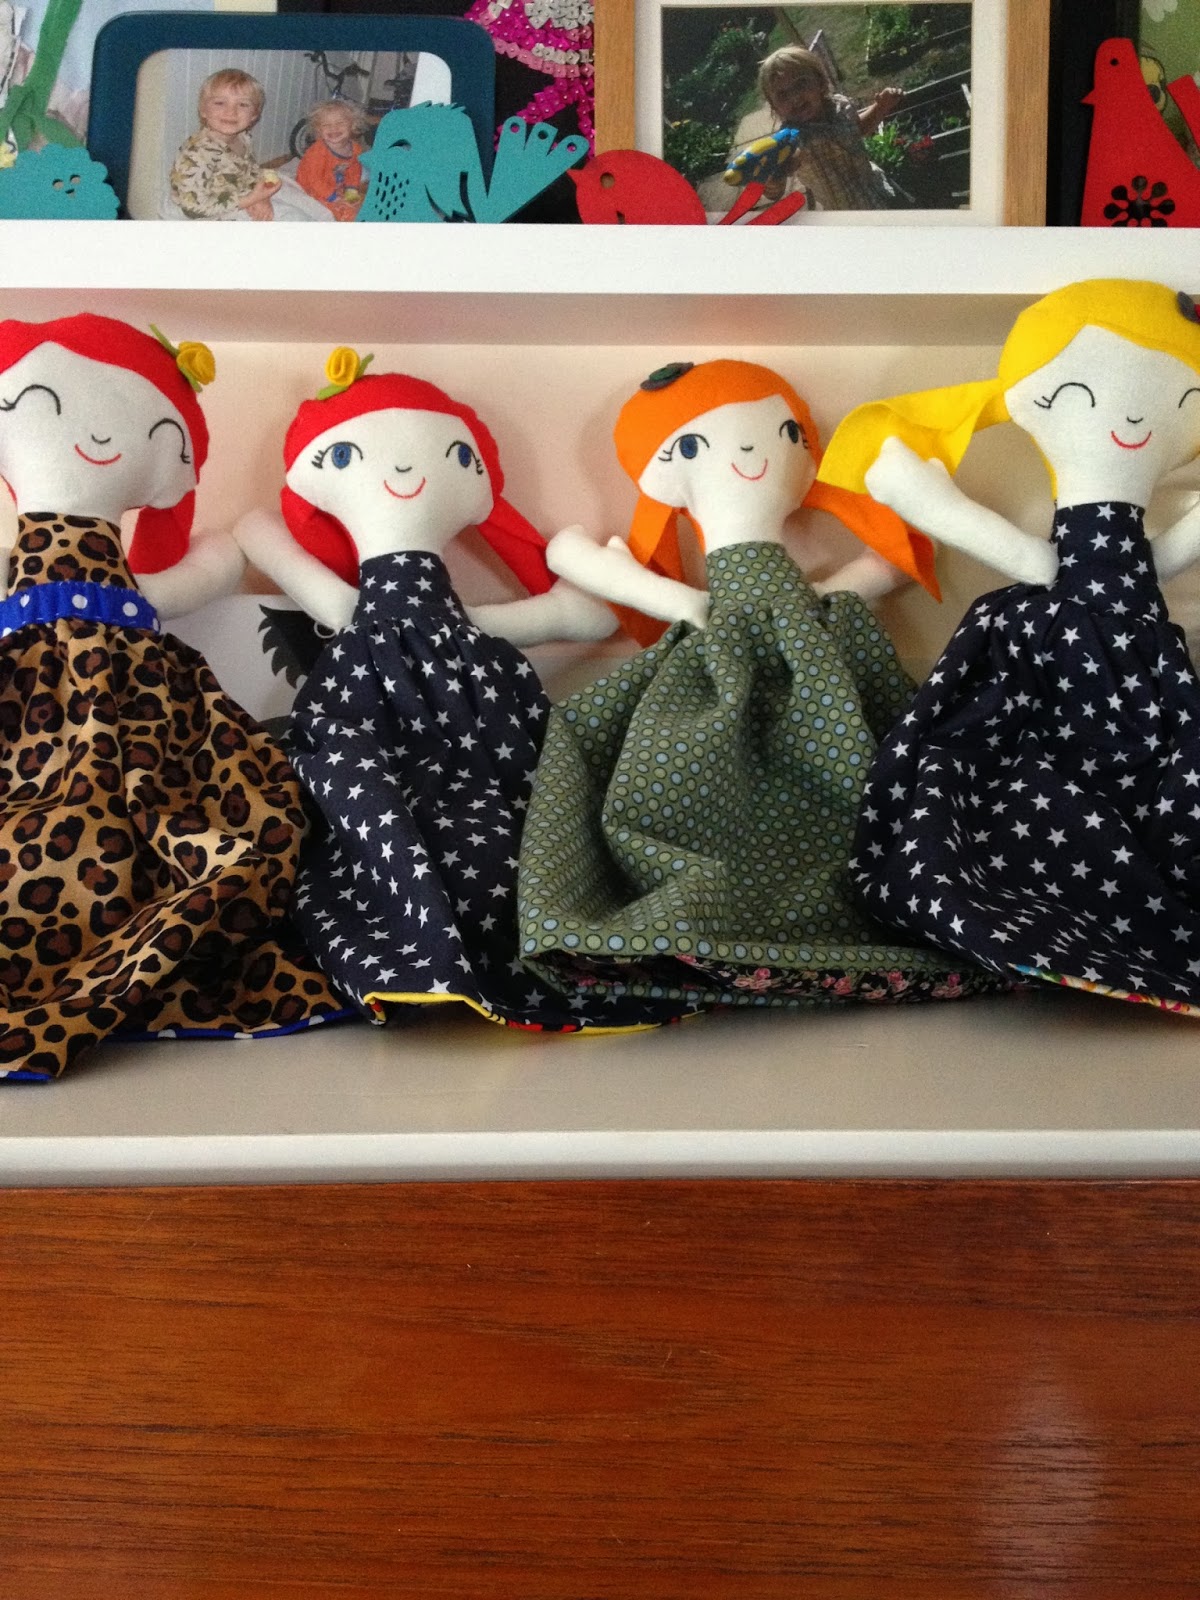
And these little ladies have been taking up most of my time. The pattern for Topsy Turvy Dollies was in Mollie Makes in the summer and I think I have made 10 of them now. They take ages but they are fun to make and each one is cuter than the last. I think my favourite one is the one Ruby gave as a gift because she had a little bear hat :) that I forgot to photograph in Ruby's haste to wrap her up.

I've also been attending a One Piece Garment Pattern Cutting course at MIY Workshop and draft a pattern for my Christmas dress. Photo's to follow when it's finished.

Wendy is great and I have learnt loads from her. Check out her classes and learn something new too!
I have also helped her make some Suffolk Puffs for her Christmas Window. As of Saturday 7th December you will be able to vote for your favourite small business window on the council's Facebook page. I'll post the link when I eventually find it. Vote for her!!


 I've also started a little xmas decorating myself, here are some sneak peeks!


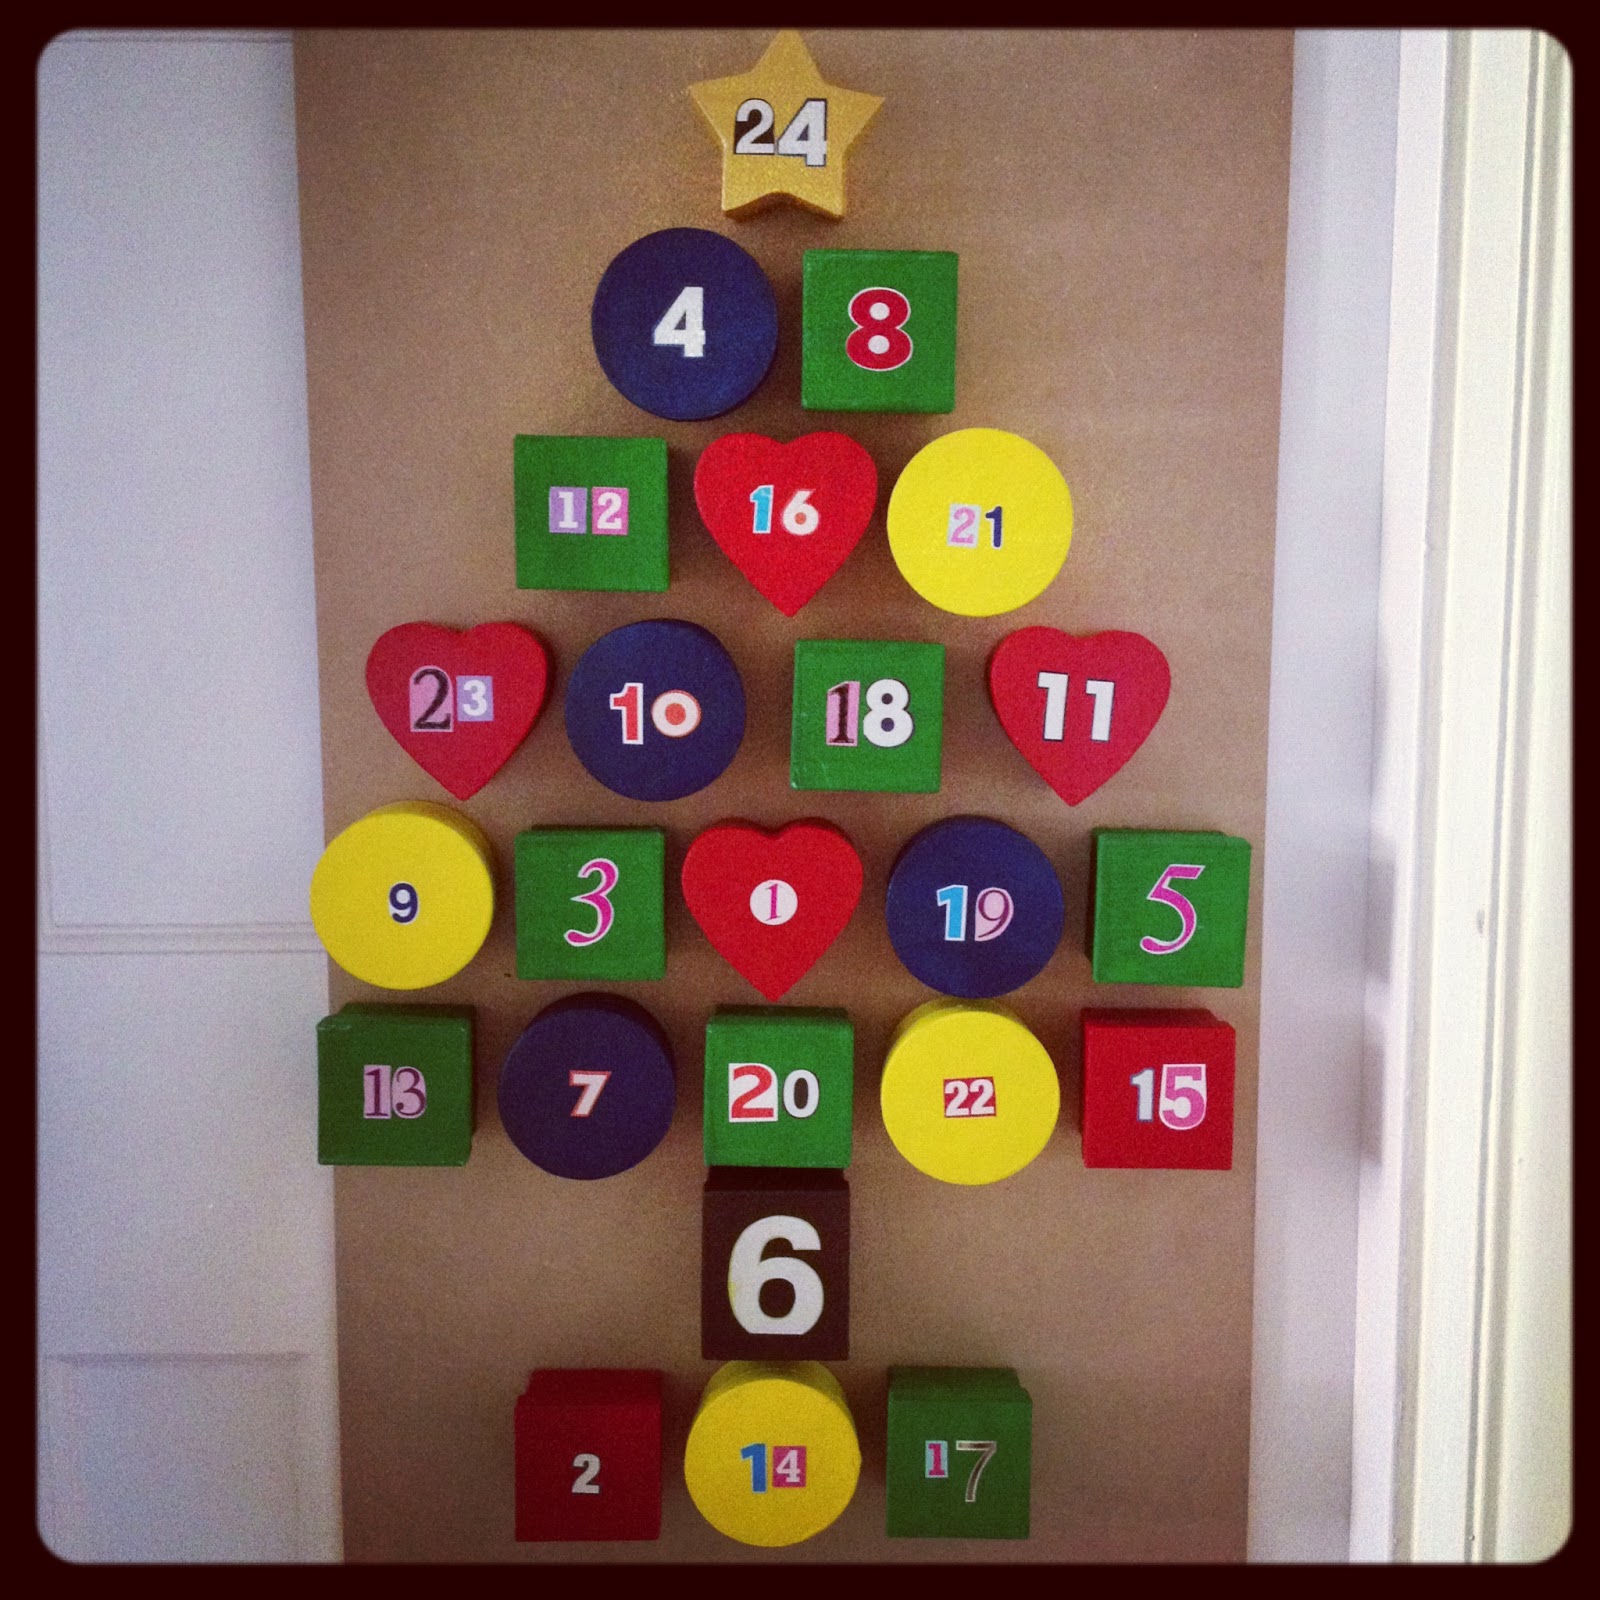
The advent calendar I made a few years ago is up and filled with chocolates and Christmas jokes. They are classics!


I'll leave you with todays joke...

Why does Santa need a big umbrella?

Because of all the rain-deer!

Thursday, 17 October 2013

Halloween Wreath

Boo!

My Halloween Baby will be 8 in two weeks! so we are getting ready to turn our home into a haunted house to celebrate.

As the teachers are on strike today and the kids are at home we've been trawling through Pinterest for inspiration, starting papier mache heads and making a halloween themed wreath.

I removed the decorations from the Easter wreath I made and covered the ring on orange fabrics. The kids then raided the toy boxes for toy snakes, newts and spiders and we pinned them on with a little bit of fake spiders web to finish.

It was so quick and easy to make and looks great :)


Related Posts Plugin for WordPress, Blogger...